How to Find a Central Heating Leak: The Order the Tests Go In
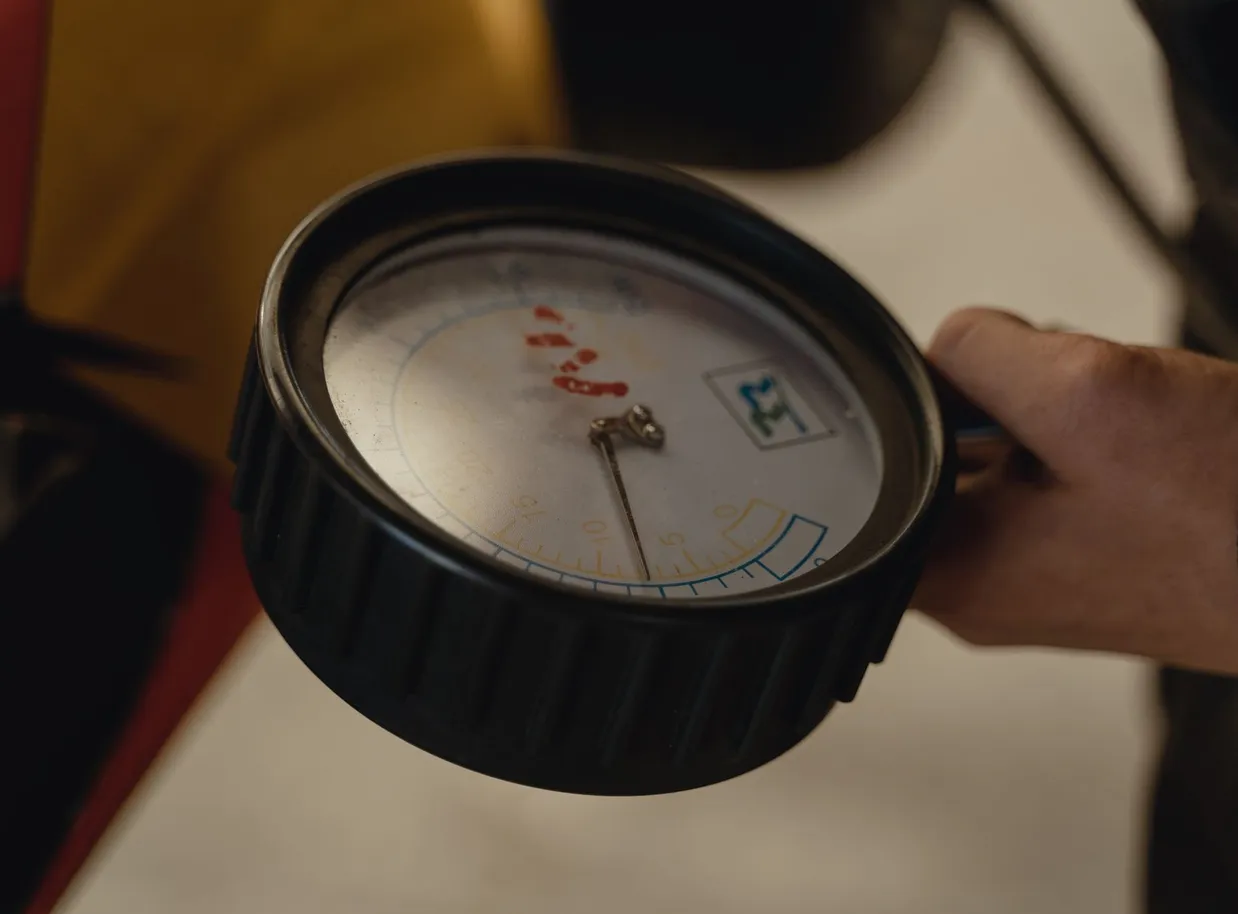
A heating circuit hides its leaks well: the water is hot, the pipe is buried, and the gauge gives you a number rather than a location. The order the tests are run in decides how long it takes.
What a heating leak looks like before you find it
Central heating leaks are found late because the circuit hides them well. The water is hot, so a slow weep evaporates before it pools. The pipework is mostly buried in floors, walls and screed. And the system has a gauge that gives you a single number rather than a location, so the first evidence is usually a boiler that needs topping up rather than anything you can see.
The symptoms worth taking seriously are these.
- A cold pressure reading that falls week on week with no radiators bled in between
- Radiators that need bleeding repeatedly, because a leak that lets water out also lets air in
- A warm or persistently dry patch on a solid floor, particularly one that appears only when the heating runs
- Staining, blistering paint or a musty smell on a ceiling below a heating pipe run
- White scale crust or green verdigris on a joint, valve body or radiator tail
- A floorboard or skirting that has darkened, cupped or lifted in one small area
None of these is proof on its own. A falling gauge has causes that are not leaks at all, which our article on a boiler losing pressure deals with in detail. The point of the sequence below is that each step eliminates something, so the finding at the end rests on evidence rather than on the first plausible explanation.
Separating the heating circuit from the mains
The first useful question is not where the leak is but which system is losing water. A property has at least two independent wet systems: the incoming cold mains and its distribution, and the sealed heating circuit. They fail differently, they are found differently, and treating one as the other wastes a day.
The mains test is a static meter test. Close every outlet, note the meter reading, leave it for an hour or more with nothing drawn off, and read it again. Movement means the supply side is losing water. The heating test is a static pressure test: record the boiler gauge from stone cold, leave the heating off, and read it again after 24 hours. A fall with no bleeding in between means the sealed circuit is losing water.
| Observation | Points to | Next step |
|---|---|---|
| Meter moves, boiler gauge steady | Cold supply or hot water distribution | Isolate at the internal stopcock and repeat |
| Meter static, boiler gauge falls | Sealed heating circuit | Check the external relief discharge, then survey the circuit |
| Both move | Two faults, or a filling loop passing | Disconnect the filling loop and repeat both tests |
| Neither moves, damp persists | Condensation, penetrating damp or a waste pipe | Measure humidity and check waste runs under load |
That last row matters more than people expect. A damp wall in an under-ventilated London flat in February is a condensation candidate until it is ruled out, and heating engineers are not always the right people to rule it out. If both tests come back clean, the problem is probably not a pressurised leak at all.
The visual survey that comes first
Instruments are expensive and slow compared with a torch, and a meaningful share of heating leaks are visible to anyone who knows what to look for. The survey is worth doing properly before anything is switched on.
What to look for on cold pipework
Let the system go cold first. A hot pipe dries its own evidence, so the marks are easier to read after several hours off. You are looking for mineral residue rather than water: a white crystalline crust where water has evaporated and left its dissolved solids behind, a green or blue-green bloom on copper, a brown tide line on a steel radiator, or a dulled ring on a painted surface. Run a finger or a dry tissue round the underside of each joint, because gravity takes a weep to the lowest point of a fitting and the top of the joint often looks perfect.
The valve and radiator check
Valves and connections account for a large share of accessible heating leaks. Check the gland nut behind each valve handwheel, the union nut where the valve meets the radiator tail, the blanking plug and the air vent at the opposite top corner, and the seam at the bottom of each panel where internal corrosion eventually shows as a pinhole. Towel rails in bathrooms deserve extra attention because ambient humidity disguises a slow weep for months. Our guide to radiator leaks and their causes sets out which of these are tightenable and which mean a replacement.
Then follow the pipework. Lift accessible floorboards along the run rather than at random, and pay particular attention to points where a pipe crosses a joist notch, where it has been clipped tightly, and where a previous trade has made a joint under a board. Compression joints under floors that have been disturbed by later work fail far more often than continuous runs of pipe.
Instrument methods and what each one does
When the visible search comes up empty, the leak is behind a finish, under a floor or in a screed. Three method families cover almost all of it, and the choice between them is decided by what the building will let each one see.
Thermal imaging
A thermal camera images surface temperature. On a heating circuit that is an unusually strong signal, because hot water escaping under a floor warms the slab or screed around it and the warm plume reads as a bright anomaly against the surrounding surface. It is fast, entirely non-destructive, and it maps pipe runs at the same time, which is useful in its own right when nobody has a drawing of the installation.
The technique needs a temperature difference to work with, so the usual approach is to run the heating hard for a period, then image the floor. A warm patch that appears only when the system is hot and fades when it cools is a strong indicator, and the same signature is discussed in our article on a warm patch on the floor.
Acoustic listening and correlation
Water escaping from a pressurised pipe generates noise at the orifice, and that noise travels along the pipe wall and through the surrounding material. Ground microphones and contact probes pick it up at the surface, and a correlator uses sensors at two accessible points to calculate the position of the source from the difference in arrival times.
Acoustics work best on metal pipework under decent pressure with a small, high-velocity escape. Heating circuits sit at low pressure compared with the mains, which weakens the signal considerably, so acoustic work on heating is more often a confirmation tool than a primary one. A comparison of the three technique families and where each earns its place is set out in our piece on acoustic, thermal and tracer gas detection.
Tracer gas
Tracer gas is the method of last resort and the one that resolves cases the others cannot. The circuit is drained, and a mixture of five per cent hydrogen in ninety-five per cent nitrogen is introduced. That mixture is used because at five per cent the hydrogen is non-flammable, non-toxic and non-corrosive, so it is safe in pipework that will carry water again afterwards. Hydrogen is the smallest molecule available, so it escapes through openings water would barely weep from, and it rises through screed, insulation and floor finishes to a sensitive detector at the surface.
Because the circuit has to be drained first, tracer gas usually follows a full or partial drain-down, and the system then has to be refilled, vented and re-dosed. Our guide to draining down a central heating system covers that sequence and the inhibitor requirement that goes with it.
| Method | Works best when | Main limitation on heating circuits |
|---|---|---|
| Thermal imaging | Hot water is escaping under a solid floor or screed | Reads surface temperature only, so insulation, thick finishes and underfloor heating loops confuse it |
| Acoustic listening | Metal pipe, small orifice, reasonable pressure | Low heating pressure gives a weak signal; plastic pipe damps it further |
| Correlation | Two accessible contact points on the same pipe run | Needs known pipe material and length between the sensors |
| Tracer gas | Everything else has failed, or the pipe is plastic | Requires the circuit to be drained, then refilled and re-inhibited |
| Moisture meters | Mapping the extent of wetting in a finish | Tells you what is wet, never where the water came from |
Buried pipework in screed and under floors
The hard cases are almost always buried pipe. In post-war and modern London housing, heating runs are commonly laid in a sand and cement screed over a concrete slab, or clipped to the slab and screeded over. Older conversions often have pipework threaded through joists under boards, with joints wherever the original fitter found it convenient.
Buried pipe fails for identifiable reasons rather than at random. Copper in direct contact with cement can corrode where the screed holds moisture and there is no sleeving. Pipe that was not sleeved cannot move as it expands and contracts with each heating cycle, and that cyclical stress works joints loose and eventually fatigues the metal. Nails and screws driven into floors by later trades are a constant cause. And where a previous repair left a joint buried rather than accessible, that joint is usually where the next failure happens.
Underfloor heating is a category of its own. The loops are continuous plastic pipe, usually with no joints between the manifold and the far end of the circuit, so a leak in the middle of a loop is nearly always damage inflicted from above rather than a failed fitting. Isolating loop by loop at the manifold narrows the search to one circuit before any instrument comes out, and that single step saves more time than any camera.
What these methods cannot do
Detection is a process of narrowing probability, not a scan that returns a coordinate, and being honest about the limits is what separates a survey from a sales pitch.
Thermal imaging cannot see through insulation and cannot see water. It sees the surface above the water, which is why a leak beneath a thick timber floor with a void under it, or beneath insulation board, may produce no usable image at all. It also struggles where underfloor heating covers the whole slab in warm pipe, because there is no cold background left to contrast against.
Acoustic methods need noise, and a heating system at one bar with a wide split in a plastic pipe may produce almost none. Large escapes are frequently quieter than small ones, which is counter-intuitive and catches people out.
Tracer gas finds where gas reaches the surface, not where it left the pipe. Gas takes the path of least resistance through a slab, so it can surface at a crack, a service penetration or a slab edge some distance from the defect. A competent operator reads the pattern of concentrations across an area rather than trusting a single peak, and will say so in the report.
Moisture meters measure moisture. A high reading on plaster below a pipe run tells you that plaster is wet. It does not tell you whether the water came from the heating, a waste pipe, a shower tray or condensation, and a meter reading presented as a leak finding is not a finding.
| Common false conclusion | Why it goes wrong |
|---|---|
| The stain marks the leak | Water tracks along joists, pipes and cable runs before it drops |
| The warmest spot is the pipe failure | Warm plumes spread through screed and peak away from the source |
| Gas surfacing at the wall means the leak is at the wall | Gas follows the easiest route out, often a slab edge or crack |
| Pressure holds overnight so there is no leak | A weep that only opens under thermal expansion needs a hot test |
| Nothing found, so nothing is wrong | A non-finding should be written up with what was eliminated |
After the leak is found
Locating the defect settles the method of repair, and on buried pipework there are usually two options. A local repair means opening the floor at one point, cutting out the failed section and jointing in new pipe, then making good. A reroute means abandoning the buried run and taking a new pipe on a different, accessible line, which costs more in pipework and disruption but removes the whole buried length from future risk. Where a screed run has already failed once through corrosion or unsleeved movement, a reroute is frequently the more honest recommendation, because the rest of that run has had the same life.
Whatever is done, the system has to be brought back properly. Any work that drains a circuit removes inhibited water, and BS 7593:2019, the code of practice for the preparation, commissioning and maintenance of domestic central heating and cooling water systems, expects inhibitor to be topped up after any work that drains the system, checked annually, and re-dosed or the water fully tested every five years. Refilling a repaired system with plain mains water and walking away is how the next pinhole is created.
Finally, write it down while it is fresh. If the damage is going through an insurer, the file needs the following.
- Dated meter and boiler pressure readings, with the interval between them stated
- The methods used in sequence, and what each one eliminated
- Photographs referenced to a sketch of the pipe run
- The finding written as a location and a cause, not as a conclusion on its own
- Detection, repair and reinstatement costed as separate lines
One boundary belongs in that report explicitly. Work on a gas appliance itself, as opposed to the wet pipework beyond it, must be carried out by a Gas Safe registered engineer under the Gas Safety (Installation and Use) Regulations 1998, and the document should make clear which parts of the job fell on which side of that line.
How we help with this
If the article describes a problem you actually have, these are the visits that deal with it.
- central heating leak detection
For a boiler losing pressure or a circuit that will not hold.
- our full guide to leak detection
How each method works and when it is the wrong tool for the job.
- leak detection in London
Finding a hidden leak without opening the property up first.
Frequently asked questions
How do I know the leak is on the heating and not the mains?
Run two independent static tests. Close every outlet, note the water meter, and read it again an hour later with nothing drawn off; movement means the supply side is losing water. Separately, record the boiler gauge from stone cold, leave the heating off for 24 hours and read it again; a fall with no radiators bled in between means the sealed circuit is losing water. If both move, disconnect the filling loop first, because a loop that is passing will make one test contaminate the other.
Can a central heating leak be found without lifting the floor?
Usually yes. Thermal imaging maps warm plumes from hot water escaping under a screed or slab, acoustic equipment listens for the noise a pressurised escape makes, and tracer gas is introduced into the drained circuit and detected where it surfaces. The aim of all three is to reduce the opening up to one small area rather than a whole floor. What none of them replaces is a proper visual survey of accessible pipework first, because a meaningful share of heating leaks are visible to anyone looking in the right places.
Why do my radiators need bleeding so often?
Repeated air is a symptom rather than a nuisance. A circuit that lets water out at a weep will draw air in as it cools, so frequent bleeding and a falling pressure gauge often describe the same fault. The other common causes are corrosion gassing in a system with depleted inhibitor, and air being drawn in on the suction side of the pump. Bleeding itself also lowers the pressure, so a household that bleeds monthly will top up monthly without any leak existing at all.
Is thermal imaging reliable for finding heating leaks?
It is strong on solid floors and weak everywhere else, because it images surface temperature rather than water. A hot escape under a screed warms the surface above it and reads clearly. The same leak under a timber floor with a ventilated void beneath, or under insulation board, may produce no usable image at all. Whole-floor underfloor heating also removes the cold background the image depends on. It is a first-line tool on slabs and a supporting tool everywhere else, not a universal scanner.
Why does the leak need to be located before it is repaired?
Because the alternative is speculative opening up, and that is what insurers query. A located defect means one small area of floor or plaster is disturbed, the repair is specific, and the reinstatement is bounded. It also decides the right repair: a buried run that has already failed through corrosion or unsleeved movement often justifies a reroute rather than a patch, because the rest of that length has had the same life and the same conditions.
Does the system need anything adding after a heating leak repair?
Yes. Any work that drains the circuit removes inhibited water. BS 7593:2019, the code of practice for the preparation, commissioning and maintenance of domestic central heating and cooling water systems, expects inhibitor to be topped up after any work that drains the system, checked annually, and re-dosed or the water fully tested every five years. Refilling a repaired system with plain mains water leaves it unprotected and is a common reason a second pinhole appears within a couple of years.