Water Leak Emergency Checklist: Five Minutes, One Hour, One Day, One Week, One Month
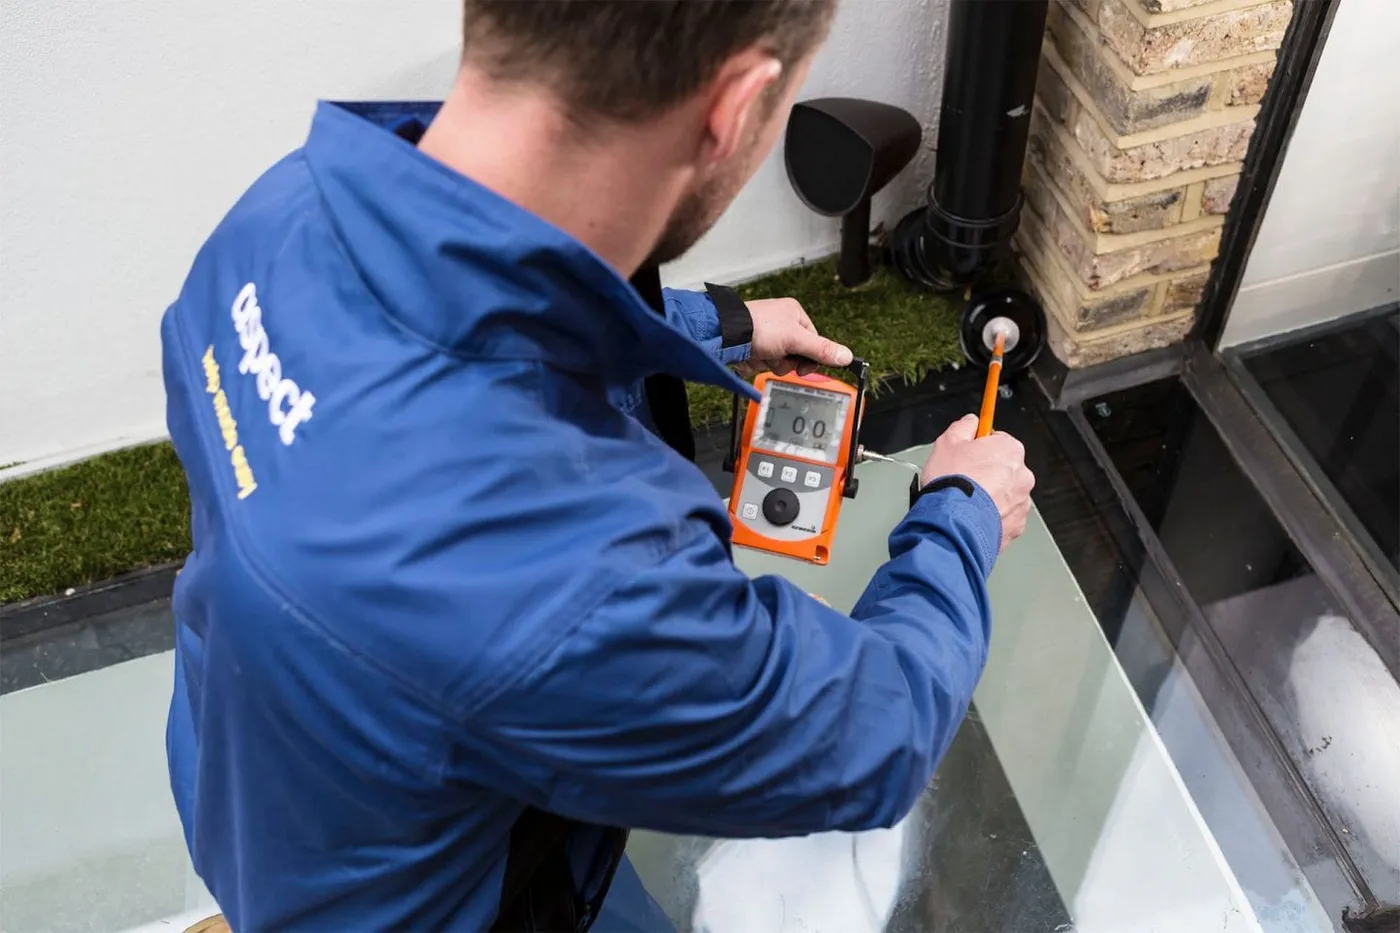
A leak is not one event but five, each with its own deadline. The failures that cost money are timing failures: the right things done in the wrong order, or a week late.
How to use this checklist
A water leak is not one event, it is five, and they have different deadlines. The flow has to be stopped in minutes. The evidence has to be captured in hours, before anything is moved or cleaned. The insurer has to be told within the notification period the policy specifies. The building has to be dried before it is closed up, which takes weeks. And the claim has to be settled and the repair completed, which takes longer than anyone expects.
What follows is organised by those five windows rather than by topic, because the failures that cost money are almost always timing failures rather than knowledge failures. People do the right things in the wrong order, or do them a week late. Print it, or keep it where you will find it without a working phone charger.
| Window | Objective | The thing most often missed |
|---|---|---|
| First 5 minutes | Stop the flow and make the electrics safe | Stored water keeps running after the stopcock is closed |
| First hour | Capture evidence and limit spread | Photographs taken after the clean-up, which prove nothing |
| First 24 hours | Notify, record, and arrange investigation | Telling the managing agent verbally instead of in writing |
| First week | Locate the cause and begin controlled drying | Assuming a surface that feels dry is dry |
| First month | Repair, reinstate and close the claim | Reinstating over a structure that has not reached equilibrium |
Checklist one: the first five minutes
Work down this list in order. The order is the point.
- Keep everybody out of any room where water is near a light fitting, socket or consumer unit
- Isolate the electricity at the consumer unit only if it is dry and you can reach it without standing in water; otherwise leave it and call an electrician
- Close the internal stopcock, turning clockwise, and confirm the flow reduces
- If the flow continues, isolate stored water: the gate valve on a loft tank, and the valve on the hot water cylinder
- If the leak is on the heating, switch the boiler off and close the valves at both ends of the affected radiator
- Where a ceiling is visibly bulging with water, keep the room clear; release it deliberately at the low point with a container beneath only if you can do so safely
- Put buckets and towels where water is still arriving, and lift the edges of floor coverings rather than dragging them up
The most common failure in this window is assuming the stopcock controls everything. It does not. A property has several independent bodies of water and each has its own control, so the right question is not how to turn the water off but which water is escaping.
| Water that is escaping | What stops it | What will not stop it |
|---|---|---|
| Cold mains and anything fed directly from it | The internal stopcock | Switching off the boiler |
| Stored cold water from a loft tank | The gate valve on the tank outlet | The stopcock, once the tank is already full |
| Stored hot water from a cylinder | The cylinder isolating valve, and the tank feeding it | The stopcock alone |
| Sealed central heating circuit | Radiator valves, or draining the section | The stopcock, which is a different circuit entirely |
| Supply pipe before the stopcock | The external stop tap in the footpath | Anything inside the property |
| Waste or soil pipe | Not using the appliance above it | Any water control, since it is not pressurised |
The decision-making behind these steps, including how to judge whether a situation is an emergency at all, is set out in our guide to what to do in a plumbing emergency. This page assumes you have already decided it is one.
Checklist two: the first hour
The flow has stopped. The hour that follows decides how much of this you will be able to prove later, and evidence collected now is worth more than anything assembled from memory in six weeks.
- Photograph the whole room before moving anything, then the damage close up, then the source if it is visible
- Photograph the water meter, the boiler pressure gauge and the stopcock in its closed position
- Take a short video walking through the affected rooms, narrating the time and what you are seeing
- Note the time you first noticed the leak and the time the flow stopped, in writing
- Move electronics, documents, artwork and soft furnishings out of the affected area and photograph them where they were first
- Do not throw anything away, however ruined, until the insurer has confirmed it can go
- Find the policy and read the notification clause and the trace and access section
That last point deserves emphasis because it changes what you do next. Many policies carry a home emergency section or a nominated contractor scheme, and many require the insurer to be told before costs are incurred. Independent instructions given in good faith at midnight are a routine reason a bill is later declined. Our explainer on whether home insurance covers water leaks covers the distinction between the damage, the search and the failed component.
Checklist three: the first 24 hours
This window is administrative rather than physical, and it is where most claims are won or complicated.
- Notify the insurer, quoting the time of the escape and the steps taken to limit it
- In a flat or block, notify the managing agent in writing, and ask in the same message whether the block policy includes trace and access
- Where water came from another flat, notify that leaseholder in writing, because a repairing obligation is triggered by notice and the date matters
- If you rent, report it to the landlord or agent in writing and keep the sent message
- Open a single folder, digital or paper, and put every photograph, message, invoice and reference number in it from the start
- Arrange a proper leak investigation if the source is not obvious and confirmed
- Do not begin replastering, relaying flooring or repainting anything
The written point runs through all of it. A conversation with a managing agent at eleven at night is not a record, and in a block dispute the question that decides liability is frequently when notice was given rather than what was said. An email or a message sent from the phone in your hand, however short, creates a timestamp that will still exist in six months. The same applies to the flat above: a neighbour who is told on the landing and a neighbour who is told in writing are in very different positions once insurers are involved.
The evidence pack
Adjusters process claims that are easy to process. A folder assembled in the first day, with everything referenced and dated, is worth more than a better argument made later.
| Item | Why the insurer wants it |
|---|---|
| Timestamped photographs and video of the wet state | Establishes extent before any mitigation or cleaning |
| Times noticed and stopped, written down | Distinguishes a sudden escape from gradual deterioration |
| Meter readings with the interval between them | Quantifies the loss and supports a water company allowance claim |
| Written notifications with their send dates | Proves notice was given, which matters in a block dispute |
| Detection report stating origin and cause | Decides whether the policy responds and who is liable |
| Separate costings for detection, repair and reinstatement | Trace and access and the repair are treated differently |
| Drying records with dated moisture readings | Justifies the drying period and the reinstatement date |
Checklist four: the first week
Two things run in parallel now: establishing what failed, and getting the building dry. Neither should wait for the other.
Finding the cause properly
- Insist the survey states what was eliminated, not only what was found
- Expect a static meter test and, on heating, a static pressure test from cold before any instrument is used
- Ask for the finding as a location and a mechanism, not as a conclusion on its own
- Ask for photographs referenced to a plan or sketch rather than an unlabelled folder of images
- Where the cause cannot be established without opening up, expect the report to say exactly that
A survey that ends with a conclusion and no method is not a survey. What makes a finding defensible is the list of things it ruled out on the way, because those eliminations are what stop a leaseholder, a neighbour or an adjuster disagreeing with it later. A report stating that the mains was eliminated by a static meter test held over ninety minutes with every outlet closed is handing over evidence. One stating that a leak was found in the bathroom is asking to be taken on trust.
Where the source was never obvious, treat the search as its own piece of work. A leak that produced damage in one room may have originated several metres away, and the signs that point at a concealed escape are set out in our guide to the signs of a hidden water leak.
Drying that actually works
- Remove saturated material that cannot be dried in place, once the insurer has agreed
- Use dehumidification with the windows closed, rather than ventilation, in cold weather
- Have moisture readings taken and dated at fixed points, so progress can be demonstrated
- Expect a wet screed, a solid wall or a chipboard floor to take weeks rather than days
- Do not re-lay flooring, replaster or repaint until readings have stabilised at fixed points
One further point about the drying period: it is the stage most likely to be cut short by everybody at once. The occupier wants their home back, the contractor wants the room released, and the insurer is watching the cost of hired equipment. Dated readings at fixed points are the only thing in the process that resists all three pressures with a number rather than an opinion. Drying is where impatience is most expensive, because a structure closed up wet produces mould and a second claim. Our guide to drying out after a water leak covers why surface dryness is a poor indicator and what equilibrium actually means.
Checklist five: the first month
- Agree the scope of reinstatement in writing before work starts, room by room
- Confirm who is instructing the contractor: you, the insurer, or the managing agent
- Keep detection, repair and making good as separate invoice lines throughout
- Where the repair improves on what was there, expect a betterment discussion and answer it with the report
- Claim any water company leak allowance within its deadline, which typically runs from the repair date rather than from the bill
- Photograph the completed work and file it with everything else
- Keep the whole folder for the life of your ownership, because the next survey or sale will ask about it
The sequence from notification to settlement, and the points where claims commonly stall, is set out in our guide to a burst pipe insurance claim.
The preparation checklist, for a day when nothing is wrong
Everything above is easier if four things were done in advance, and none of them takes an afternoon. They are worth doing on the day you move in, and worth checking whenever a tenancy changes or the property has been empty.
- Find the internal stopcock, confirm it closes, and label it; do the same for the external stop tap chamber
- Locate and label every service valve, the loft tank gate valve and the cylinder isolating valve
- Photograph the meter reading once a quarter, which turns a future dispute about volume into arithmetic
- Note the policy number, the claims line and whether the policy includes trace and access and home emergency
What to do twice a year
Turn the stopcock through its full travel and return it to just short of fully open. A valve that has stood untouched for years is the one that shears when it is finally needed. Check flexible tap connectors and appliance hoses for corrosion or bulging, and check under sinks and behind the washing machine for the mineral crust that marks a slow weep.
Where checklists fall down
A checklist is a sequence, and a sequence assumes the situation fits the pattern. Several common cases do not, and following the list mechanically through them makes things worse.
Closing the stopcock does not stop a leak from a hot water cylinder, a cold water storage tank or a sealed heating circuit, because those already contain their water. A household that closes the stopcock, sees water still arriving and concludes the stopcock is broken has misread the system rather than found a fault.
Photographing damage is not evidence of a cause. A folder of images showing a wet ceiling proves there was water, not where it came from, and an insurer deciding whether a policy responds needs the second thing. That is the whole purpose of a survey that states origin, cause and the eliminations behind them.
A surface that feels dry very often is not. Moisture migrates from wet material into dry air, so a wall or screed can present a dry face while holding water at depth, which is why dated readings at fixed points matter more than touch. And a leak that has stopped has not necessarily been repaired: intermittent defects that open under thermal expansion or at peak overnight pressure can stay quiet for days.
Finally, no checklist can substitute for a registered trade where the law requires one. Work on a gas appliance must be carried out by a Gas Safe registered engineer under the Gas Safety (Installation and Use) Regulations 1998, and electrical work in a wet environment belongs to a competent electrician. Switching an appliance off is a householder action. Opening it is not.
How we help with this
If the article describes a problem you actually have, these are the visits that deal with it.
- burst pipe repair
A split or burst pipe isolated and repaired, day or night.
- an emergency plumber in London
Attendance when water is running and damage is still spreading.
- leak detection in London
Finding a hidden leak without opening the property up first.
Frequently asked questions
What is the first thing to do when a water leak starts?
Keep people away from any water near a light fitting, socket or consumer unit, then close the internal stopcock by turning it clockwise. If the flow does not reduce, the water is stored rather than mains fed, so isolate the gate valve on a loft tank or the valve on the hot water cylinder. A heating leak is a third circuit again and is stopped at the radiator valves or by switching the boiler off. Photograph everything before you begin moving or mopping.
Why does the checklist say to photograph before cleaning up?
Because the wet state is the evidence and it will not exist tomorrow. An adjuster assessing extent needs to see the water where it was, the damaged items in place, and the ceiling or wall while it is still marked. Photographs taken after the clean-up show a tidy room. Include a wide shot of each affected room, close shots of the damage and of the source if visible, and images of the meter, the boiler gauge and the closed stopcock.
How quickly do I have to tell my insurer?
Check the notification clause in the policy, because the period is specified there and it is usually short. Two practical points go with it. Many policies carry a home emergency section or a nominated contractor scheme, and many require the insurer to be contacted before costs are incurred, so independent instructions can be declined later. In a block, the same question goes to the managing agent about whether the block policy includes a trace and access extension that funds the investigation.
How long should a property be left to dry?
Longer than it feels like. Surface dryness is a poor indicator, because moisture migrates from wet material into dry air and leaves a dry face over a wet core. A saturated screed, a solid wall or a chipboard floor commonly takes weeks. The measurable answer is dated moisture readings taken at fixed points until they stabilise, and those readings also justify the drying period and the reinstatement date if the claim is queried.
What should the leak detection report contain?
The origin stated as a location and the cause stated as a mechanism, with the confidence attached to each. It should also list what was eliminated and how, the methods used in sequence with the reason for moving between them, readings with units and timestamps, and photographs referenced to a plan rather than presented as an unlabelled folder. Detection, repair and reinstatement belong on separate costed lines, because insurers treat trace and access differently from the repair itself.
What should I do before a leak ever happens?
Four things, none of which takes an afternoon. Find the internal stopcock, confirm it closes and label it, and locate the external stop tap chamber. Label every service valve, the loft tank gate valve and the cylinder isolating valve. Photograph the meter reading once a quarter, which turns a future argument about volume into arithmetic. And note the policy number, the claims line, and whether the policy includes trace and access and home emergency cover.